| Creating Graphical User Interfaces | |
Defining Menus for the Menu Bar
When you create a menu, MATLAB adds it to the figure menubar. You can then create menu items for that menu. Each item can also have submenu items, and these items can have submenus, and so on.
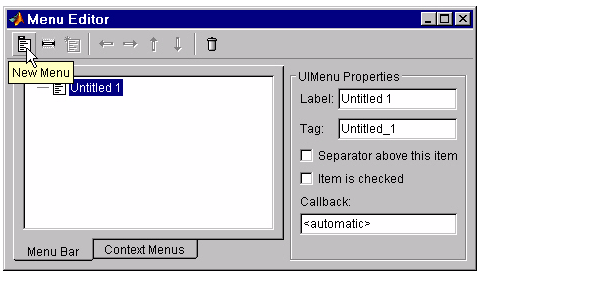
Creating a Menu
The first step is to use the New Menu tool to create a menu.
Specifying Menu Properties
When you click on the menu, text fields appear that allow you to set the Label, Tag, Separator, and Checked menu properties as well as specifying the Callback string.
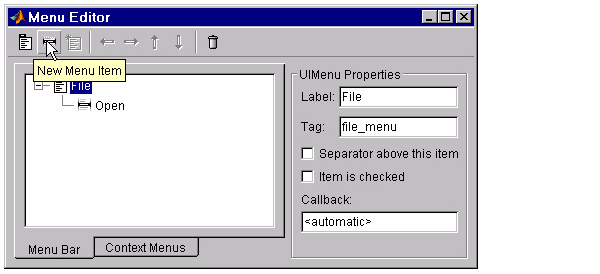
Adding Items to the Menu
Use the New Menu Item tool to define the menu items that are displayed under the top-level menu.
New Menu Item adds a submenu to the selected item. For example, if you add a Print item to the File menu in the illustration above, select File before clicking on New Menu Item.
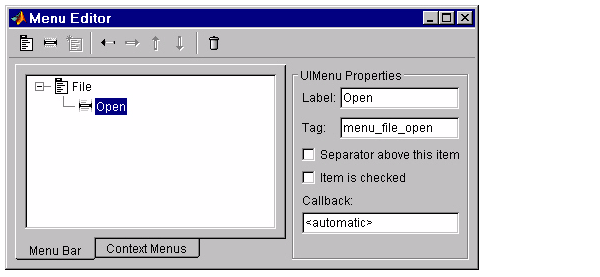
Fill in the Label and Tag text fields for the new submenu.
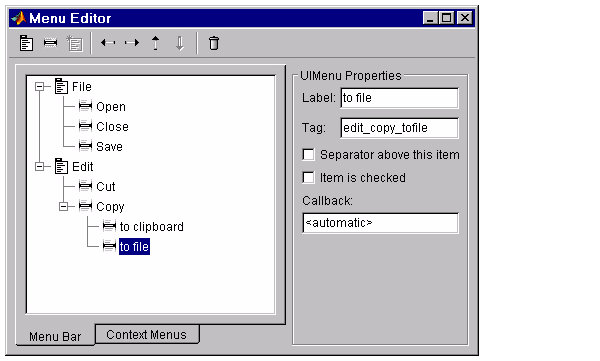
Create additional levels in the same way. For example, the following picture show an Edit menu having a Copy submenu, which itself has two submenus.
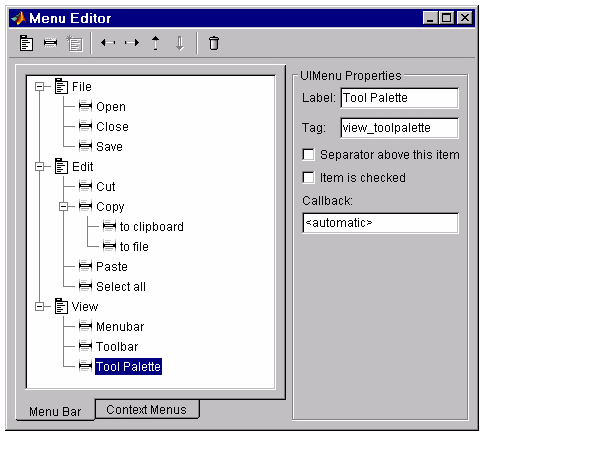
Laying Out Three Menus
The following Menu Editor illustration shows three menus defined for the figure menubar.
When you run the GUI, the menus appear in the menubar.
| | Creating Menus - The Menu Editor | Menu Callbacks | |